JS components
The Dcat Admin has built-in components for some common JS functions, which can be accessed through the global variable Dcat.
Listening to JS script load completion events (ready)
The callback function set by the Dcat.ready method is executed after all JS scripts have been loaded.
{tip} The
Dcat.readymethod is only required when writingJScode in a template file, and is not required when addingJScode inphpcode using theDcat\Admin\Admin::scriptmethod. TheDcat.readymethod is not required when addingJScode inphpcode using theDcat AdminAdminAdmin::scriptmethod.
<div>...</div>
<script>
Dcat.ready(function () {
    // Write your logic.

    console.log('All JS scripts are loaded.');
});
</script>
Listening dynamically for element generation (init)
With Dcat.init you can listen to dynamically generated page elements and set a callback, here is a simple example to demonstrate usage.
If an element is dynamically generated by JS, and we need to bind a click event to this element, then we would normally do this
<div class="selector">test</div>

<script>
Dcat.ready(function () {
    // You need to be off first and then on, otherwise page refresh will cause double bind problem.
    $(document).off('click', '.selector').on('click', '.selector', function () {
        ...
    })
});
</script>
The above approach is more trouble, you need to off and then on; Second, you can not do some special treatment of dynamically generated elements, for example, you want to change the background color in the .selector generation, this operation can not be done.
In Dcat Admin we can use the Dcat.init method to listen to the dynamics of the element generation, which can easily solve the above two problems.
<div class="selector">test</div>

<script>
Dcat.ready(function () {
    // $this is the jquery dom object of the current element.
    // id is the id attribute of the current element, if the current element has no id, a random id will be generated automatically.
    Dcat.init('.selector', function ($this, id) {
        // Change the background color of the element.
        $this.css({background: "#fff"});

        // There's no need for off and then on again, because the anonymous function will only be executed once!
        $this.on('click', function () {
            ...
        });
    });
});
</script>
Dcat.init accepts two parameters
selectorcss selectorfor elements that need to be listened tocallbackevent callback, triggered when the element is generated and only once
where the callback callback receives two arguments as follows
$thisis the jquery dom object of the current element.idis the id attribute of the current element, if the current element has no id, a random id will be generated automatically.
Manually trigger the JS script load completion event
The Dcat.triggerReady method can be used to manually trigger the JS script load completion event, which means that all callback functions previously set by the Dcat.ready method will be automatically executed.
{tip} This feature is rarely used by normal development, but only by some deep customization of components, such as form popup function uses this method.
Dcat.triggerReady();Pjax refreshing the page
The Dcat.reload method can call the Pjax.reload method to implement the page refresh and jump functions.
Refresh the current page
Admin::script(
<<<JS
    // Refresh the current page after 3 seconds
    setTimeout(function () {
        Dcat.reload();
    }, 3000);
JS
);
page jump
$url = admin_url('auth/users');

Admin::script(
<<<JS
    // Jump to the admin/auth/users page in 3 seconds.
    setTimeout(function () {
        Dcat.reload('{$url}');
    }, 3000);
JS
);
Toastr prompt box
Dcat Admin integrates the Toastr plugin, here is how to use it:
success
Dcat.success('Update SUCCESS');

// Using TITLE
Dcat.success('Update SUCCESS', 'I am a TITLE.');

// Passing parameters
Dcat.success('Update SUCCESS', null, {
    timeOut: 5000, // It disappears after 5 seconds.
});
error
Dcat.error('Unknown error on the server');

// Using TITLE
Dcat.error('Unknown error on the server', 'I am a TITLE.');

// Passing parameters
Dcat.error('Unknown error on the server', null, {
    timeOut: 5000, // It disappears after 5 seconds.
});
warning
Dcat.warning('warning');

// Using TITLE
Dcat.warning('warning', 'I am a TITLE.');

// Passing parameters
Dcat.warning('warning', null, {
    timeOut: 5000, // It disappears after 5 seconds.
});
info
Dcat.info('tip');

// Using TITLE
Dcat.info('tip', 'Using TITLE');

// Passing parameters
Dcat.info('tip', null, {
    timeOut: 5000, // It disappears after 5 seconds.
});
Please refer to toastr official documentation for more usage.
Sweetalert2 pop-up window
Dcat Admin integrates with the sweetalert2 plugin, here is how to use it
confirm
The Dcat.confirm method is used to popup a confirmation popup window that accepts five parameters
titlestringConfirmation message TITLEmessagestringThis parameter can be omitted if you want to confirm the message contentsuccessfunctionThe callback function triggered by clicking the acknowledge buttonfailfunctionThe callback function triggered by clicking the cancel buttonoptionsobjectFor configuration parameters, refer to sweetalert2 official documentation
Dcat.confirm('Are you sure you want to delete this line of data??', null, function () {
    console.log('confirm deletion');

    $.post(...);
});
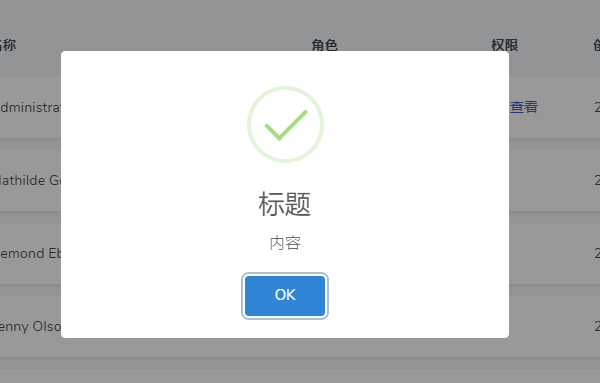
success
Dcat.swal.success('TITLE');

Dcat.swal.success('TITLE', 'content');

Dcat.swal.success('TITLE', 'content', {
    ...
});
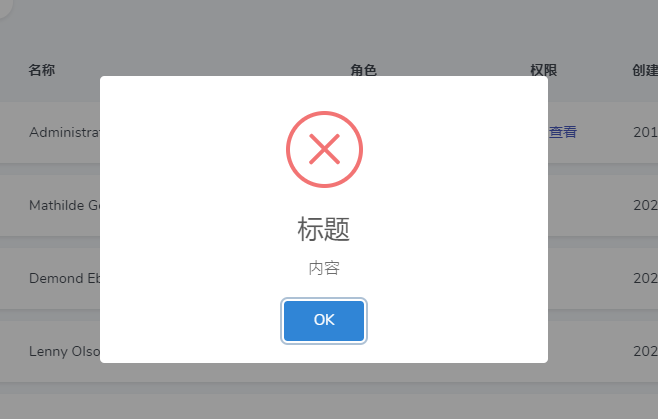
error
Dcat.swal.error('TITLE');

Dcat.swal.error('TITLE', 'content');

Dcat.swal.error('TITLE', 'content', {
    ...
});
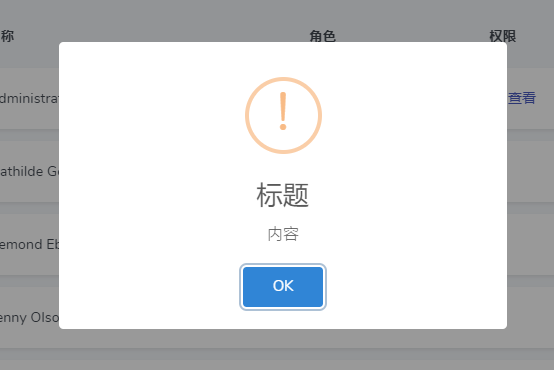
warning
Dcat.swal.warning('TITLE');

Dcat.swal.warning('TITLE', 'content');

Dcat.swal.warning('TITLE', 'content', {
    ...
});
info
Dcat.swal.info('TITLE');

Dcat.swal.info('TITLE', 'content');

Dcat.swal.info('TITLE', 'content', {
    ...
});
Please refer to sweetalert2 official documentation for more usage.
layer popup layer
Dcat Admin integrates with layer popup, please refer to the official documentation for usage.
layer.open({
    ...
})
Loading effect
The Dcat Admin integrates three common loading effects, Try it online and click on me.
Full screen
The Dcat.loading method allows you to set a full-screen mask and display the loading icon in the middle of the screen.
This method takes an argument of type object:
| Parameters | Type | Default | Description |
|---|---|---|---|
| zIndex | int |
999991014 | Set the z-index style of CSS. |
| width | string |
58px | Set loading icon width |
| color | string |
#bacad6 | Set the color of the loading icon. |
| background | string |
transparent | set the mask background color |
| style | string |
set css style of loading icons |
// Enable the loading effect
Dcat.loading();

// The loading effect is automatically removed after 3 seconds.
setTimeout(function () {
    Dcat.loading(false);
})
result

Change the color of the loading icon
// Change color
Dcat.loading({
    color: Dcat.color.primary,
});
Attached to the specified element
The $.fn.loading method is used to attach the loading effect to the current element, this method also receives an object type parameter.
| Parameters | Type | Default | Description |
|---|---|---|---|
| zIndex | int |
100 | Set the z-index style of CSS |
| width | string |
52px | Set the width of the loading icon |
| color | string |
#bacad6 | Set the color of the loading icon |
| background | string |
#fff | Set the background color of the mask layer |
| style | string |
set css style of loading icons |
// Enable the loading effect
$('#card').loading();

// Disable the loading effect
$('#card').loading(false);

// Change the color of the loading icon
$('#card').loading({
    color: Dcat.color.primary,
});

// Changing the mask color
$('#card').loading({
    background: '#f3f3f3',
});
result

buttons
// Enable the loading effect
$('#submit-button').buttonLoading();

// Disable the loading effect
$('#submit-button').buttonLoading(false);
a tag
Clicking on the a tag also supports the loading effect
// Enable the loading effect
$('a').buttonLoading();

// Disable the loading effect
$('a').buttonLoading(false);
Ajax form submission
Dcat Admin integrates a jquery-form component to implement the ajax form submission feature.
The Dcat.Form method can be used to instantly initiate an ajax form submission request, which accepts a parameter of type object.
| Parameter | Type | Default | Description |
|---|---|---|---|
| form | string |
object |
jquery object or css selector for the form |
| validate | bool |
false |
To enable or not enable form validation, please refer to form validation. |
| errorClass | string |
has-error | The style added when there is an error in the field validation |
| errorContainerSelector | string |
.with-errors | Form error message container css selector, generally just use the default value |
| groupSelector | string |
.form-group,.form-label-group,.form-field | Form group css selector, generally just use the default values. |
| errorTemplate | string |
Error message template, just use the default values | |
| autoRedirect | bool |
false |
Automatic jump after saving success |
| autoRemoveError | bool |
true | Automatically removes form error messages when form values are changed |
| before | function |
A pre-submit event where returning false prevents the form from being submitted further |
|
| after | function |
Post-commit event (triggered regardless of success or failure), returns false to abort subsequent logic |
|
| success | function |
The success event (if the interface returns a status code of 200, then success is determined). |
|
| error | function |
Failure event (the interface returns a status code other than 200 to determine failure), returning false aborts subsequent logic |
Basic usage
<script>
Dcat.ready(function () {
    // ajax form submission
    $('#login-form').form({
        validate: true, //Enable Form Validation
        before: function (fields, form, opt) {
            // fields For form content
            console.log('Values for all form fields', fields);

            if (...) {
                // Returns false to prevent further submission of the form
                return false;
            }
        },
        success: function (data) {
            // Return data for the interface
            if (! data.status) {
                Dcat.error(data.message);

                return false;
            }

            Dcat.success(data.message);

            if (data.redirect) {
                Dcat.reload(data.redirect)
            }

            // Abort follow-up logic (default logic)
            return false;
        },
        error: function (response) {
            // There is a default way to handle form submission failures.
            var errorData = JSON.parse(response.responseText);

            if (errorData) {
                Dcat.error(errorData.message);
            } else {
                console.log('submission error', response.responseText);
            }

            // Termination of subsequent logical implementation
            return false;
        },
    });
});
</script>
Advanced usage
If you want even more granular control, you can bind the submit button yourself and submit the form in a way like this
var $form = $('#login-form');

// Disable default submission
$form.on('submit', function () {
    return false;
});

// ajax form submission
function submit() {
    Dcat.Form({
        form: $form,
        success: function (data) {
            if (! data.status) {
                Dcat.error(data.message);

                return false;
            }

            Dcat.success(data.message);

            location.href = data.redirect;

            return false;
        },
        error: function () {
            // Non-200 status code response error
        }
    });
}

// h5 form validation
function validateForm() {
    $form.validator('validate');

    // Returns false if an error occurs
    if ($form.find('.has-error').length > 0) {
        return false;
    }

    return true;
}

// Binding login button click event
$form.find('[type="submit"],.submit').click(function (e) {
    // Form Validation
    if (validateForm() === false) {
        return false;
    }

    // Submit Form
    submit();

    return false;
});
Form validation
Dcat Admin integrates the functionality of the bootstrap-validator component for form front-end validation.
bootstrap-validator is a validator for html form validation. You just need to write the validation rules on the attributes of the form element to automatically start the validation, very convenient.
Adding validation rules
<fieldset class="form-label-group form-group position-relative has-icon-left">
<input
minlength="5" <!-- Adding validation rules -->
maxlength="20" <!-- Adding validation rules -->
required <!-- Adding validation rules -->
type="password"
class="form-control"
name="password"
>
<div class="form-control-position">
<i class="feather icon-lock"></i>
</div>
<label for="password">{{ trans('admin.password') }}</label>
<!-- This div with the .with-errors style is where the form's errors are displayed, which is very important! -->
<div class="help-block with-errors"></div>
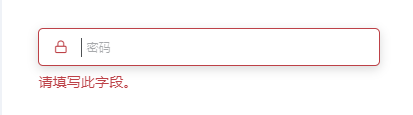
</fieldset>Enable Form Validation
$('#xx-form').form({
    validate: true
});
result

Extended Validation Rules
The Dcat.validator.extend method allows you to extend the form validation rules
Dcat.validator.extend('maxlength', function ($el) {
    return $el.val().length > $el.attr('data-maxlength');
});
Validate forms using custom rules
<input
    type="input"
    class="form-control"
    name="username"
    data-maxlength="20" <!-- Use the validation rules you just customized -->
    data-maxlength-error="The character length limit has been exceeded, please enter 20 characters or less." <!-- Defining Error Messages -->
 />
Built-in authentication rules
Please refer to bootstrap-validator official documentation for more built-in validation rules.